Styling by Juvena Worsfold: https://juvenaworsfold.wordpress.com/ one of the best stylists I’ve had the pleasure of working with. Good eye, great work ethic, easy to get along with, with a fine taste in movies! Everything else (photography, lighting, editing, whatever) handled by me.
So this is a little different in that it’s not portrait photography. Products are both easier and harder to shoot: easier because they don’t turn up drunk, have bad moods, or get tired of doing the same thing, and there’s very little chance of them running late for an interview and giving you 1/3 the allotted time. And harder to shoot because it’s clinical, precise, things have to look how they look (well, yeah) and occasionally products are infinitely finicky such as when you’re trying to lay a bag strap so it’s just right but never is.
The intent here was to funk it up a little, not do 100% birds eye views of top-down photography and do something a bit more structured with some layers to it. Juvena can take full credit for this, it’s my job to basically justify the hard work stylists put in (and man is it hard, it seems like only 10% of the job is the actual styling).
The lighting style/look for this was something a bit warmer. I wanted to give it a sort of dusty look, somewhat filmic, almost cinematic with some colour grading and hard shadows.
To get those hard shadows I just used a bare light – just a studio strobe in the reflector dish to channel the light forward and make it more efficient by minimising the spread. I wanted it to look hot, and hard, sharp like a desert sun yet toned like a dusty twilight. There was a bit of fine tuning with the position and angle of the light but it came out around 15ft away (almost on the other wall) and somewhere around waist height (we’re shooting stuff on the floor in a corner of an office room). Set the light for f/11 and ISO 320 (since Canon cameras are sharpest and most noise-free in increments of ISO 160) and you’re good to go.
The backgrounds are literally coloured sheets of cartridge paper taped to the wall and the colours were swapped in and out depending on the dominant colours of the products. You can be complimentary or clashing this way and since it’s rather small things a couple of A3 sheets is typically enough to use.
setup shot:
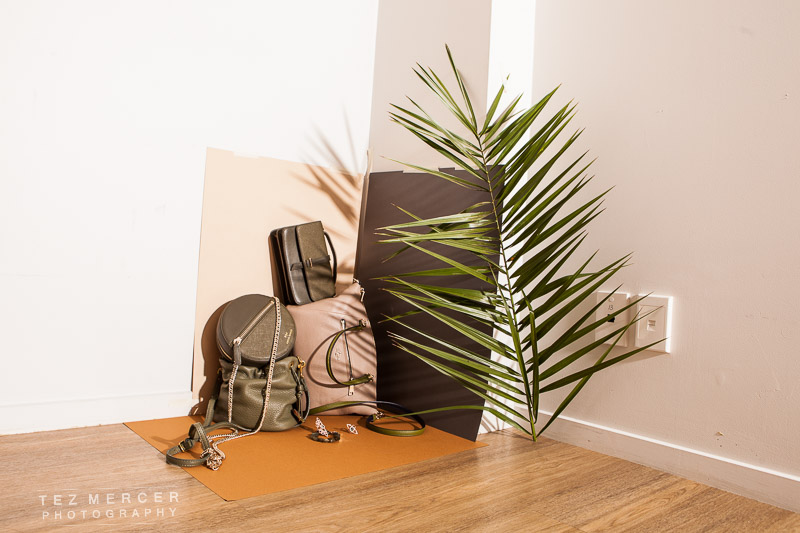
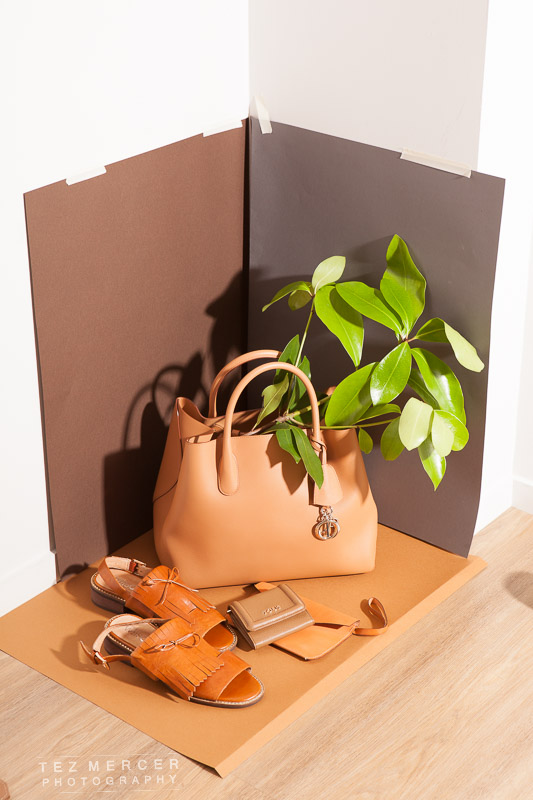
Which became this:


Another:
 Get the right angle, zoom in, pay attention and:


I find it pretty cool that you can change the entire look of the scene by selecting the right paper colours to go with what you’re shooting. Kudos again to the stylist who makes my job very easy and means I can focus on doing what I do.

 And that’s 6 pages done. On to the next one.